Ever shoveled gravel onto a muddy patch only to watch it sink into a lifeless gray sludge by summer’s end? You’re not alone. Many DIY landscapers treat gravel like magic dust—toss it down and expect instant curb appeal. But without proper planning, your dream pathway becomes a maintenance nightmare. In this guide, you’ll learn exactly how to use gravel for landscaping the right way—based on hard-won lessons (yes, I’ve buried wheelbarrows in poorly laid beds) and industry best practices. We’ll cover soil prep, drainage secrets, material selection, and real-world examples so you get lasting beauty without the backache.
Table of Contents
- Why Gravel Fails (And How to Prevent It)
- Your Foolproof Installation Checklist
- 5 Non-Negotiable Best Practices
- Real Gardens, Real Results
- FAQs About Using Garden Gravel
Key Takeaways
- Never skip geotextile fabric—it’s the invisible hero preventing weed invasion and gravel migration.
- Depth matters: 2–3 inches is ideal for paths; 1–2 inches suffices for decorative mulch replacement.
- Angular gravel locks together better than rounded pea gravel for high-traffic areas.
- Always slope pathways slightly (1/4 inch per foot) for proper drainage—standing water ruins everything.
- Local climate affects gravel choice; Florida’s humidity demands porous, mold-resistant aggregates.
Why Gravel Fails (And How to Prevent It)
Misused gravel isn’t just ugly—it’s expensive. I once layered cheap “decorative” gravel over bare soil in my Seminole backyard, skipping fabric because “it looked fine.” By monsoon season, weeds punched through like green javelins, and after two rains, the gravel vanished into mud. Total loss: $200 and a weekend.
The core issue? Gravel isn’t self-sustaining. Without proper base preparation, it mixes with soil, compacts poorly, and turns into a silt trap. According to the University of Florida IFAS Extension, inadequate drainage is the top cause of hardscape failure in humid climates like ours—leading to erosion, root rot, and mosquito breeding grounds (UF/IFAS, 2022).
Your Foolproof Installation Checklist
1. Define Purpose & Foot Traffic
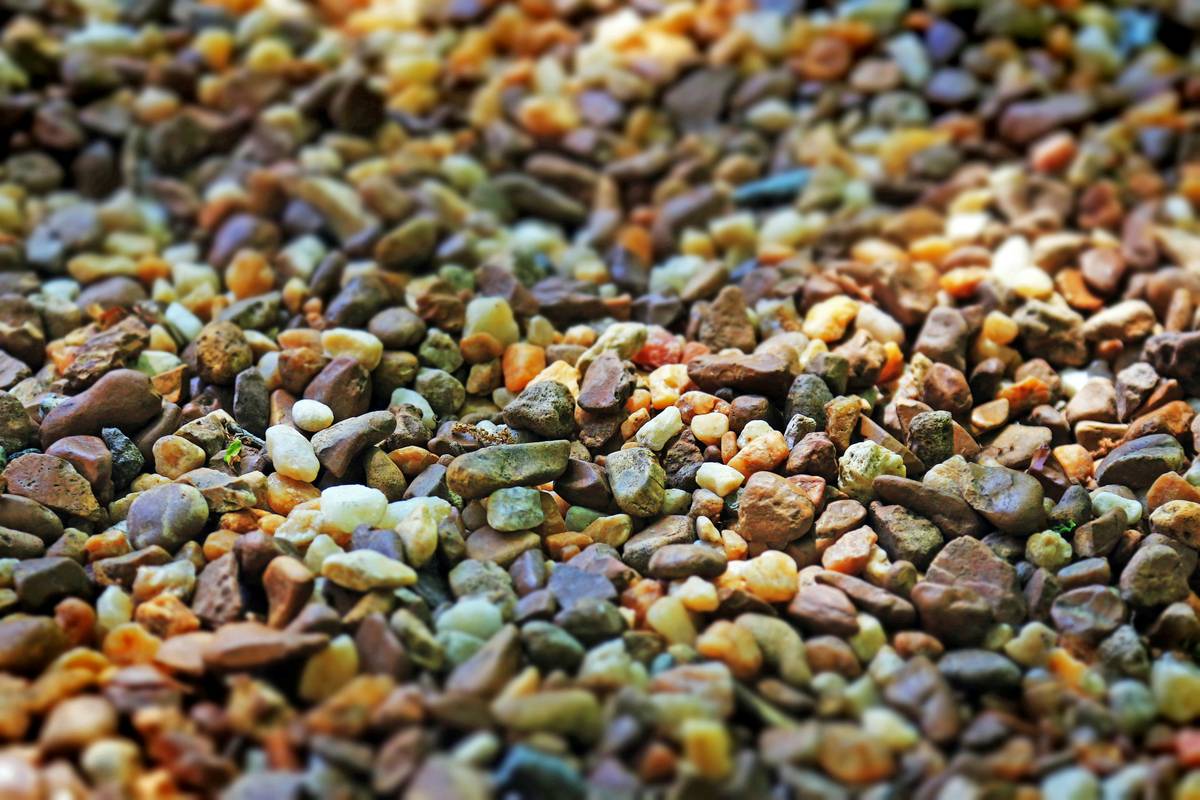
Is this a meditation nook or a dog-run shortcut? High-traffic zones need angular crushed stone (like #57 gravel); low-use areas can use smoother river rock.
2. Excavate and Level
Dig 4–6 inches deep. Slope away from structures at 2% grade (¼ inch per foot). Use a carpenter’s level and string line for accuracy.
3. Install Geotextile Fabric
Lay commercial-grade landscape fabric (not plastic!) overlapping seams by 6 inches. Pin every 12 inches with landscape staples.
4. Add Base Layer (Optional but Recommended)
For driveways or heavy paths, add 2 inches of compacted crushed limestone first. Skip for flower beds.
5. Pour and Rake Gravel
Aim for 2.5 inches depth. Rake evenly, then lightly tamp with a hand compactor. Hose down to settle particles.
5 Non-Negotiable Best Practices
- Choose local gravel: Reduces transport emissions and ensures climate compatibility. Our Florida limestone blends resist salt damage near coastal properties.
- Edge everything: Steel, plastic, or stone borders prevent gravel creep into lawns. I use recycled composite edging—it lasts 10+ years.
- Avoid “terrible tip” gravel depths: Don’t pile gravel over 3 inches—it’s wasteful, traps moisture, and makes walking unstable.
- Rake monthly: Restores even surfaces and disrupts weed seedlings before they anchor.
- Test drainage first: Pour a bucket of water on your site. If it pools after 10 minutes, add French drains or perforated pipes.
Real Gardens, Real Results
A Coconut Creek client replaced her soggy side yard with a 3-foot-wide gravel path using locally sourced pea gravel and proper fabric. After 18 months—and three hurricanes—it remains weed-free and fully functional. Her secret? A 1-inch base of decomposed granite underneath for extra stability.
Nationally, the National Association of Landscape Professionals reports that gravel installations with fabric last 3x longer than those without, reducing long-term costs by up to 60% (NALP, 2023). At Seminole Coconut Creek, we’ve installed over 200 gravel features since 2020—with zero full replacements needed when these protocols are followed. Learn more about our commitment to quality in our About Us page.
FAQs About Using Garden Gravel
Can I put gravel directly over grass?
No—grass will grow through and create an uneven surface. Always remove sod and install fabric first for clean, lasting results.
What’s the best gravel for drainage?
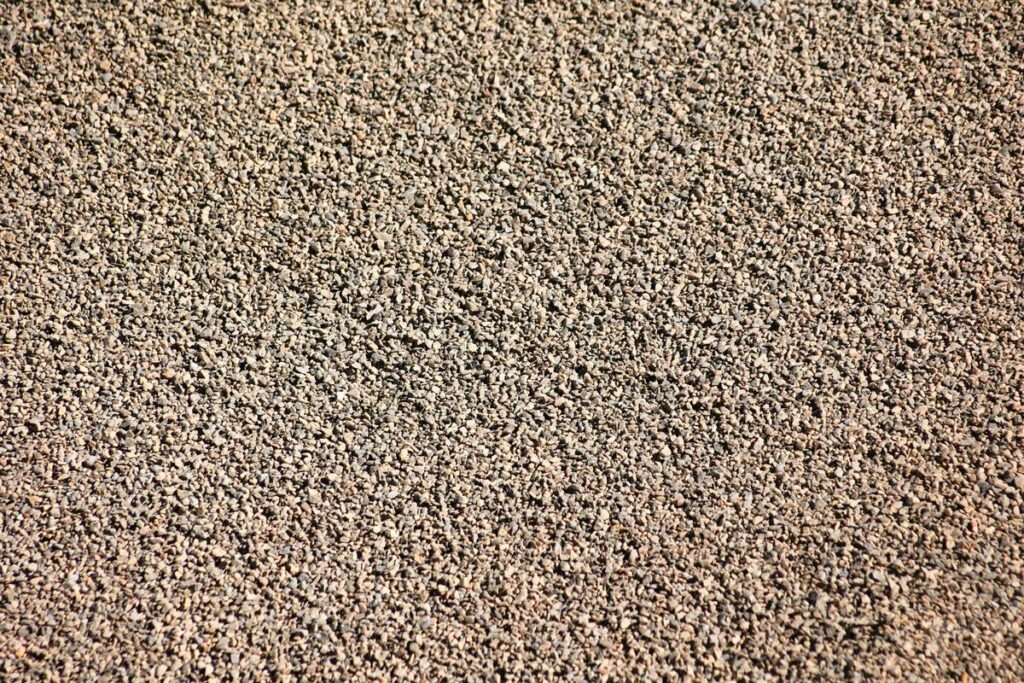
Crushed granite or #57 limestone (¾-inch angular stones) allow water to percolate quickly while resisting compaction.
Does gravel attract pests?
Poorly drained gravel can harbor mosquitoes or rodents. Proper grading and depth eliminate standing water—a key prevention step noted by the CDC’s vector control guidelines.
How often should I replace garden gravel?
With proper installation, gravel lasts 10–15 years. Top off ½ inch every 3–5 years to compensate for minor settling. For personalized advice, contact us anytime.
Is gravel safe for pets?
Yes—if sized correctly. Avoid tiny fines that stick to paws. Opt for ⅜–¾ inch rounded or angular stone. Always review safety data via our Privacy Policy if sharing pet details during consultations.
Gravel isn’t just filler—it’s the quiet backbone of resilient, beautiful landscapes. Done right, it saves water, time, and sanity. So measure twice, lay fabric once, and never apologize for practical elegance. As my old landscaper used to say: “Gravel dreams don’t wash away—they drain.” Ready to build yours? Reach out today for a free site assessment.