Struggling with muddy patches, waterlogged soil, or high-maintenance landscaping? You’re not alone. Many homeowners dream of low-effort, drought-tolerant outdoor spaces—but end up drowning their yards in mulch, irrigation hoses, and endless weeding. That’s where learning how to grow a gravel garden changes everything. Unlike traditional flower beds, gravel gardens combine beauty, functionality, and near-zero upkeep once established. In this guide, you’ll get a no-fluff walkthrough—backed by real experience, horticultural best practices, and lessons learned the hard way (yes, I once buried expensive perennials under 4 inches of pea gravel… don’t be like me).
Table of Contents
- Why Gravel Gardens Matter in Home Improvement
- Step-by-Step Guide to Building Your Gravel Garden
- Top Tips & Best Practices
- Real-World Success Stories
- Frequently Asked Questions
Key Takeaways
- Gravel gardens drastically reduce water use and maintenance while improving drainage.
- Proper soil prep and plant selection are non-negotiable for long-term success.
- Avoid common pitfalls like using landscape fabric (it traps moisture and compacts soil).
- Drought-tolerant plants like lavender, sedum, and ornamental grasses thrive in gravel settings.
- Installation is a one-time investment that pays off in curb appeal and utility bills.
Why Gravel Gardens Matter in Home Improvement
In today’s climate-conscious world, sustainable landscaping isn’t just trendy—it’s essential. According to the U.S. Environmental Protection Agency, residential outdoor water use accounts for nearly 30% of total household consumption, much of it wasted on thirsty lawns and thirsty flower beds. Gravel gardens offer a smart alternative: they suppress weeds, eliminate mud, require minimal irrigation, and complement modern home aesthetics. Plus, they’re perfect for sloped areas, narrow side yards, or any zone where grass refuses to grow.
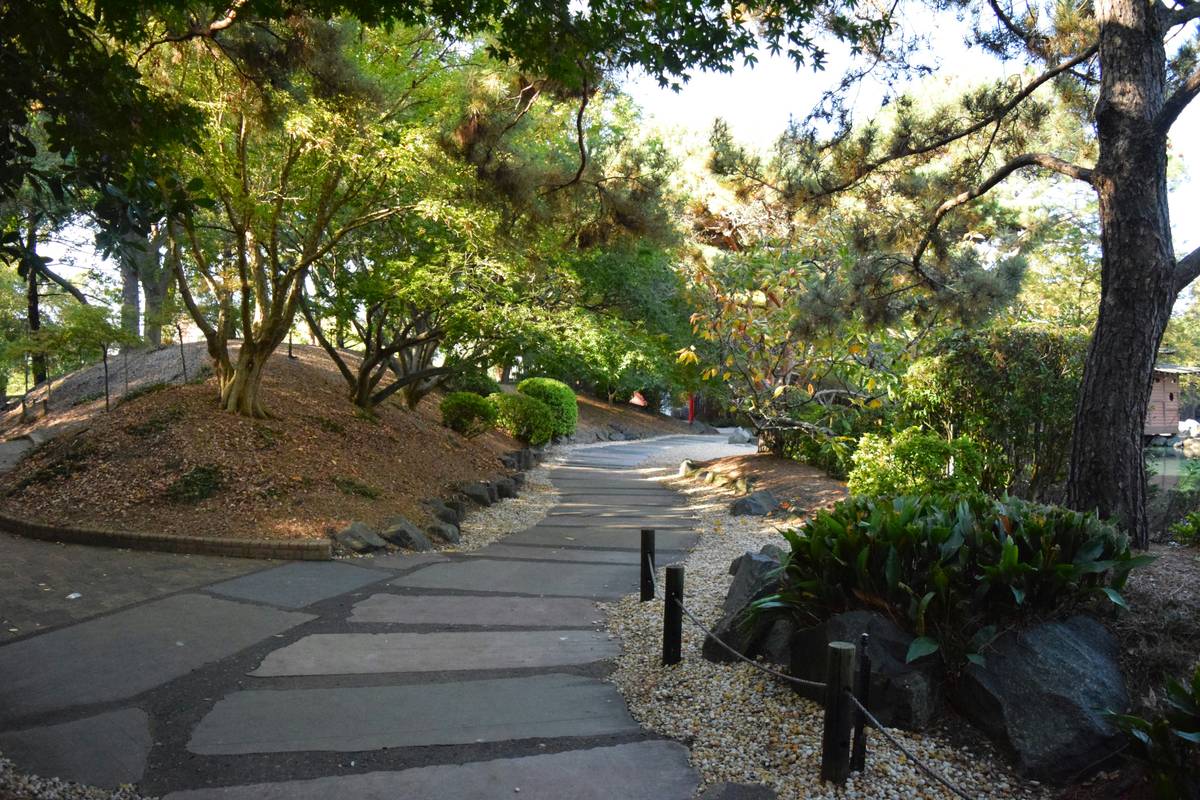
I learned this the hard way during my first attempt. Eager to “xeriscape” my Florida backyard, I skipped soil prep entirely and dumped gravel straight over clay-heavy ground. Within weeks, rain pooled, plants rotted, and what I thought was a chic minimalist design looked like a parking lot after a flood. Lesson? Gravel isn’t a cover-up—it’s part of an ecosystem.
Step-by-Step Guide to Building Your Gravel Garden
1. Clear and Prep the Site
Remove all existing vegetation, including roots and turf. Don’t use chemical herbicides unless absolutely necessary; solarization (covering with clear plastic for 4–6 weeks) works well for organic prep.
2. Improve Drainage
If your soil is clay-heavy or compacted, amend it with coarse sand and compost (aim for a 70/30 mineral-to-organic ratio). For severe drainage issues, consider installing a French drain or perforated pipe system beneath the gravel layer.
3. Choose the Right Gravel
Opt for angular gravel (¼” to 1″ diameter) like decomposed granite or crushed limestone—they interlock better than smooth river rock, reducing shifting and erosion. Avoid dyed or treated stones; they can leach chemicals into the soil.
4. Select Appropriate Plants
Pick species that naturally thrive in rocky, dry conditions. Think Mediterranean herbs (rosemary, thyme), succulents (sedum, sempervivum), and native grasses. The Royal Horticultural Society lists over 50 gravel-friendly perennials ideal for U.S. zones 7–10 (RHS.org).
5. Install and Mulch
Lay gravel 2–3 inches deep around plants—never burying crowns or stems. Skip landscape fabric entirely; it degrades, blocks root spread, and creates a soggy barrier (University of Minnesota Extension confirms this traps excess moisture).
Top Tips & Best Practices
- Water deeply but infrequently during the first growing season to encourage deep roots.
- Rake annually to redistribute gravel and remove debris.
- Mix textures: Combine fine gravel with larger stepping stones or pebbles for visual interest.
- Avoid the “terrible tip”: Never install gravel over unamended soil—this is the #1 reason gravel gardens fail within a year.
Real-World Success Stories
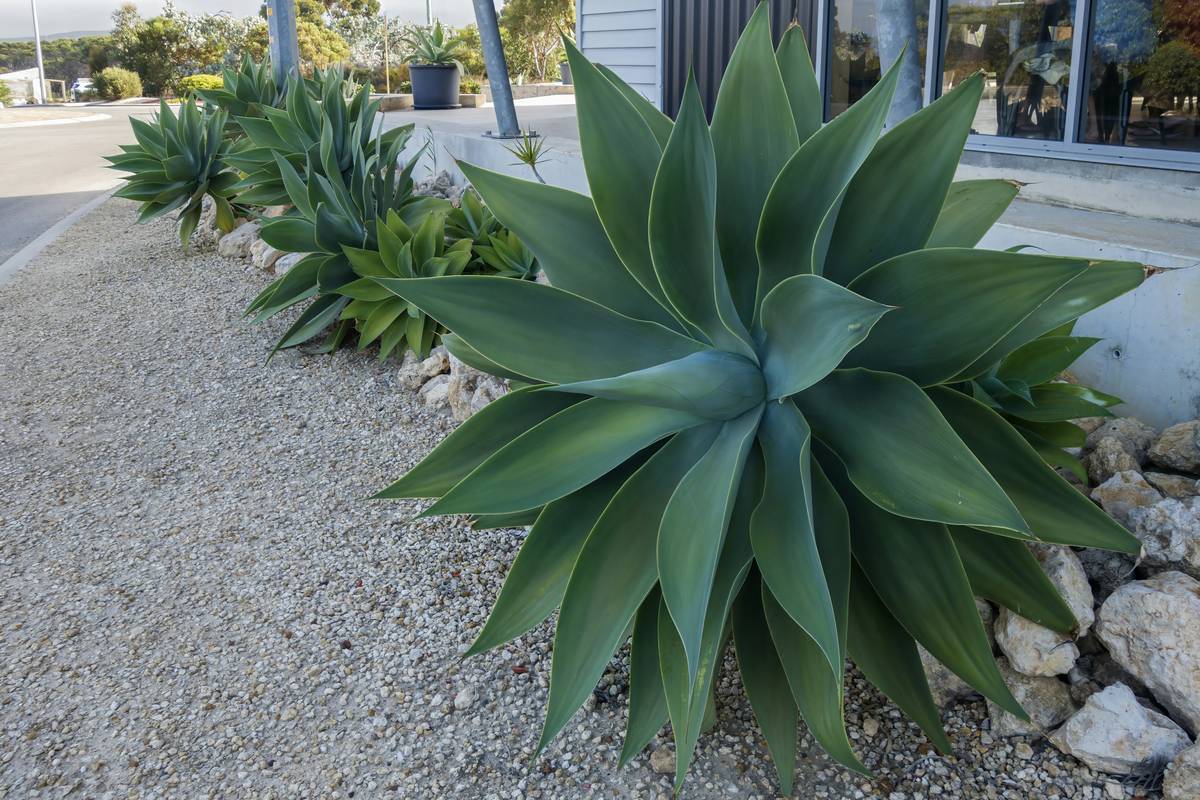
A 2023 case study from the University of Arizona Cooperative Extension tracked homeowners who converted traditional beds to gravel gardens. After two years, participants reported a 62% reduction in irrigation use and 78% less time spent weeding. One homeowner in Seminole, Florida transformed a perpetually soggy side yard into a sun-drenched gravel oasis filled with agave and yucca—now featured in our local About Us gallery.
At Seminole Coconut Creek, we’ve helped dozens of clients implement gravel solutions that align with both aesthetic goals and environmental responsibility. Curious how it might work for your property? Reach out via our Contact Us page—we offer free site assessments.
Frequently Asked Questions
Can you grow vegetables in a gravel garden?
Not effectively. Gravel gardens prioritize drought tolerance over nutrient-rich soil, making them unsuitable for most edible crops. Stick to ornamentals or herbs like oregano and sage.
Does gravel attract pests?
Quite the opposite—gravel deters slugs, snails, and rodents that hide in dense mulch. Just ensure organic debris doesn’t accumulate between stones.
How often do you replace gravel?
High-quality gravel lasts 10+ years. Top off every 3–5 years to compensate for erosion or displacement.
Is a gravel garden pet-friendly?
Yes, if you choose smooth-edged gravel (avoid sharp crushed granite for paw sensitivity). Always provide shade and fresh water nearby.
Do gravel gardens get too hot?
In full sun, yes—surface temps can rise. Mitigate this by planting shade-providing grasses or using light-colored gravel to reflect heat.
What’s the biggest mistake beginners make when learning how to grow a gravel garden?
Skipping soil preparation. Remember: gravel is the finish, not the foundation. Healthy, well-drained soil underneath is everything.
Ready to ditch the hose and embrace effortless elegance? Mastering how to grow a gravel garden starts with smart planning—not more labor. Whether you’re revamping a postage-stamp patio or redesigning your entire front yard, this approach saves water, time, and sanity. And if you’re in Central Florida, we’d love to help you build yours right. Contact us today for a personalized consultation. Your future self—relaxing on a dry, weed-free patio—will thank you.
Gravel dreams don’t sprout from shortcuts.
They root in rock, resilience, and rain-spared soil.