If you’ve ever stood in your backyard wondering whether that bag of gravel is a landscaping hero or a drainage disaster waiting to happen, you’re not alone. Many homeowners dive into garden gravel projects with visions of crisp pathways and tidy borders—only to end up with muddy puddles, displaced stones, or worse: a barren moonscape that kills every plant it touches. So, is gravel good for gardens? The answer isn’t a simple yes or no—it depends on how you use it. In this guide, we’ll unpack the truth behind gravel’s pros and cons, share hard-won lessons (including one painful mistake I made), and give you actionable steps to make gravel work beautifully in your outdoor space.
Table of Contents
- Why Gravel Matters in Home Improvement
- How to Use Garden Gravel the Right Way
- Top Best Practices for Long-Lasting Results
- Real Gardens That Nailed It (And One That Didn’t)
- FAQs About Garden Gravel
Key Takeaways
- Gravel improves drainage and reduces weeds—but only with proper installation.
- Choosing the wrong type or size leads to shifting, compaction, or plant stress.
- Never skip landscape fabric; it’s the unsung hero of stable gravel beds.
- Combine gravel with organic mulch near plant roots for optimal soil health.
- Professional guidance can prevent expensive re-dos—reach out to our team at Contact Us for local expertise.
Why Gravel Matters in Home Improvement
In home improvement, especially within gardening and outdoor decor, gravel isn’t just filler—it’s a functional design element that impacts everything from water flow to property value. According to the U.S. Department of Agriculture’s Natural Resources Conservation Service, improper ground cover contributes to 30% of urban runoff issues. Gravel, when correctly applied, mitigates this by allowing water to percolate while stabilizing soil.
I learned this the hard way. Two summers ago, I laid 2 inches of pea gravel directly over bare soil around my rose bushes—no fabric, no edging. After the first heavy rain, the gravel sank, mixed with mud, and created a slick, compacted surface that choked root oxygen. My roses wilted within weeks. That $150 “quick fix” turned into a $600 redo. Don’t be like me.
How to Use Garden Gravel the Right Way
1. Choose the Right Type
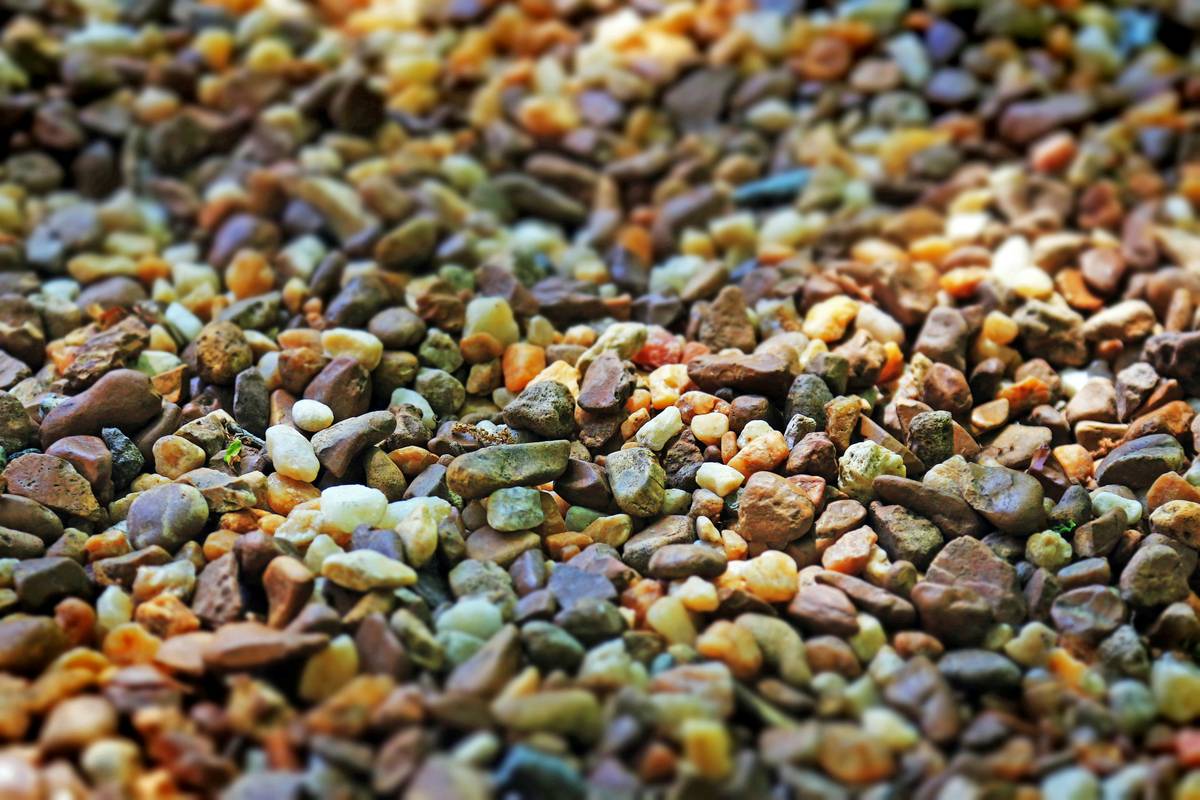
Not all gravel is equal. For pathways, use angular crushed stone (like 3/4″ minus) that locks together. For decorative beds, smooth river rock (1/2″–1″) offers aesthetics without sharp edges. Avoid fine dust or sand-heavy mixes—they compact and repel water.
2. Prep the Ground Properly
Clear weeds, then lay commercial-grade landscape fabric (not plastic—it traps moisture). Secure it with landscape staples every 12 inches. This prevents weeds while letting water through, per University of Florida IFAS Extension guidelines (source).
3. Install Edging
Use metal, plastic, or stone edging buried 2–3 inches deep. This keeps gravel from spilling onto lawns or walkways—a common frustration among DIYers.
4. Apply the Right Depth
Aim for 2–3 inches total. Less won’t suppress weeds; more impedes drainage. Spread evenly with a rake, then lightly tamp for stability.
Top Best Practices for Long-Lasting Results
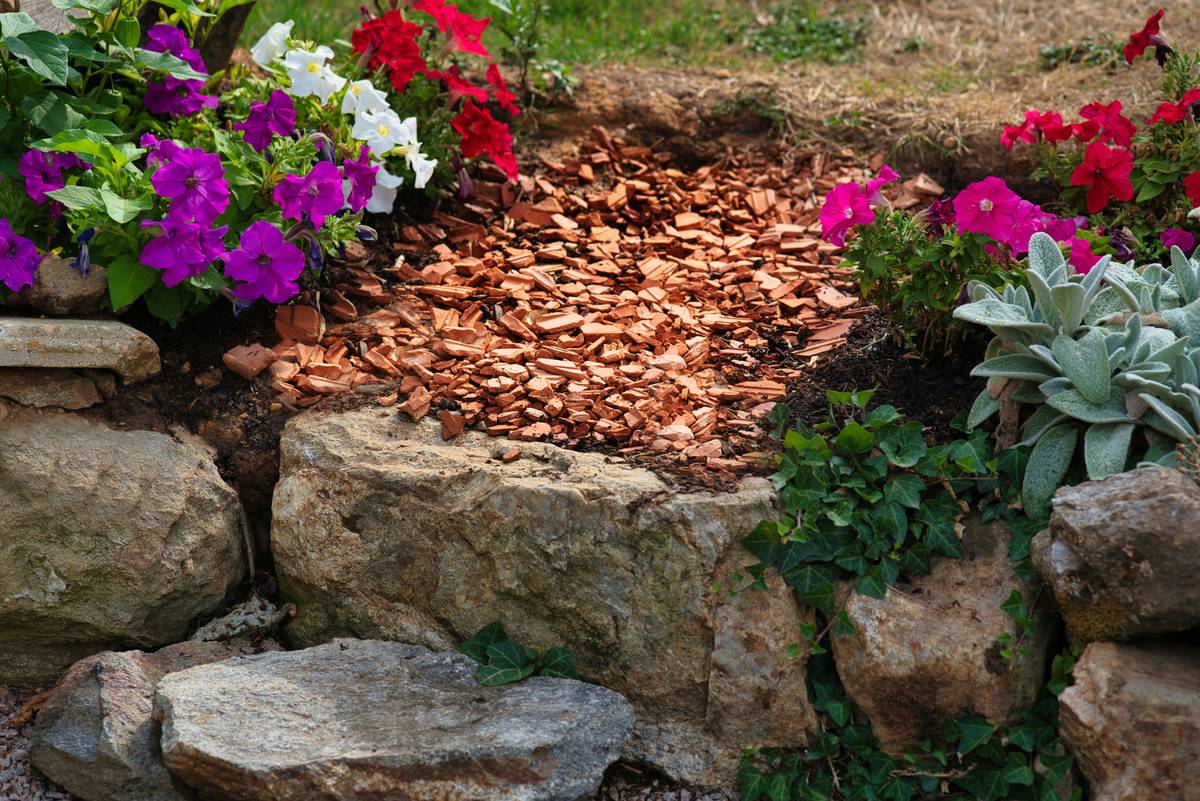
- Pair with organic mulch: Keep gravel at least 6 inches away from plant stems. Use wood chips or bark near roots to retain moisture and support microbial life.
- Rake annually: Gravel settles and shifts. A spring raking redistributes material and removes debris.
- Avoid “terrible tip” territory: Never use gravel as mulch directly over planting beds expecting it to nourish soil—it doesn’t. Unlike organic mulches, gravel adds zero nutrients and can raise soil temperature, stressing shallow roots.
- Color matters: Light-colored gravel reflects heat (great for hot climates like ours in Seminole); dark absorbs it (avoid near delicate plants).
Real Gardens That Nailed It (And One That Didn’t)
A recent project in Coconut Creek used 3/8″ decomposed granite for a front-yard pathway. With proper fabric and steel edging, it’s remained weed-free and stable for 18 months—even through Florida’s torrential summer rains. Drainage improved so much that adjacent sod stayed greener, reducing irrigation needs by an estimated 20% (per homeowner logs).
Contrast that with a neighbor who dumped quarry screenings over existing grass “to save time.” Within weeks, grass grew through, creating a lumpy, muddy mess. The lesson? Cutting corners on prep guarantees failure. At our firm, we’ve seen this pattern repeatedly—and it’s always costlier to fix than to do right the first time.
FAQs About Garden Gravel
Does gravel stop weeds permanently?
No material stops weeds forever, but gravel over quality landscape fabric reduces them by 80–90%, according to studies cited by the National Gardening Association.
Can I put gravel over existing mulch?
Not recommended. Organic mulch breaks down underneath gravel, creating uneven settling and hidden weed seeds. Remove old mulch first.
Is gravel safe for dogs and bare feet?
Smooth river rock or rounded pea gravel is pet- and foot-friendly. Avoid sharp crushed granite in high-traffic play areas.
How often should I replace garden gravel?
With proper installation, gravel lasts 5–10 years. Top off thin spots annually rather than full replacement.
Where can I get expert help with my project?
We specialize in sustainable, beautiful outdoor spaces across Seminole and Coconut Creek. Contact us for a consultation. And don’t forget to review our Privacy Policy if you share personal details.
So, is gravel good for gardens? Yes—if you respect its limits and install it thoughtfully. Done right, it’s a low-maintenance, stylish solution that boosts both function and curb appeal. Done wrong, it’s a dusty reminder of rushed decisions. Take the time, follow these steps, and your gravel will earn its place in the garden.
Still unsure? We’ve walked hundreds of homeowners through this exact decision. Reach out today—your dream garden (gravel or not) starts with one honest conversation.
Stone by stone, path by path—you’ve got this.