Ever spent a weekend hauling bags of garden gravel only to watch it disappear into muddy ruts after the first rain? You’re not alone. Many homeowners dive into landscaping projects with enthusiasm but skip the crucial groundwork—literally. If you’re exploring using gravel in landscaping, you need more than good looks; you need durability, drainage, and design cohesion. In this guide, we’ll walk through everything from soil prep to path maintenance, drawn from real-world trials (and errors!) right here in Florida’s humid climate. Whether you’re lining a walkway, defining a patio edge, or creating a low-maintenance Zen corner, these seven proven strategies will save you time, money, and heartbreak.
Table of Contents
- Why Gravel Matters in Home Landscaping
- Step-by-Step Guide to Installing Gravel Like a Pro
- Top Best Practices for Long-Lasting Gravel Areas
- Real-World Examples That Work
- Frequently Asked Questions
Key Takeaways
- Proper base preparation prevents sinking and weed growth.
- Choose angular gravel over rounded for better stability.
- Install landscape fabric—but only if combined with proper edging.
- Maintenance is minimal but non-negotiable: rake and refresh annually.
- Avoid the “mulch-over-gravel” combo—it’s a hidden disaster.
Why Gravel Matters in Home Landscaping
In the world of Home Improvement, few materials offer the versatility, affordability, and drought-resistance of gravel. With water restrictions tightening across many U.S. regions—including parts of Florida—homeowners are increasingly turning to xeriscaping and hardscaping solutions. According to the Environmental Protection Agency (EPA), replacing traditional lawns with permeable surfaces like gravel can reduce outdoor water use by up to 50%EPA WaterSense. Beyond conservation, gravel adds texture, defines spaces, and pairs beautifully with native plants.
I learned this the hard way. A few years back, I laid pea gravel around my citrus trees without compacting the soil or installing edging. Within a month, heavy rains washed half of it into my neighbor’s yard—and the rest sank into soft earth like sand in an hourglass. That $300 project became a muddy eyesore. Lesson? Using gravel in landscaping isn’t just about dumping rocks on dirt. It’s engineering meets aesthetics.
Step-by-Step Guide to Installing Gravel Like a Pro
1. Define Your Purpose and Area
Are you building a path, driveway, or decorative bed? Each has different depth and material needs. Paths need 2–3 inches of gravel over a stable base; driveways require 4–6 inches.
2. Excavate and Grade
Remove 4–6 inches of topsoil. Slope the area slightly (1–2%) for drainage—never let water pool.
3. Install a Base Layer
Add 2–3 inches of compacted crushed stone (like #57 stone). Rent a plate compactor—it’s worth every penny.
4. Add Landscape Fabric (Optional but Recommended)
Use woven geotextile fabric—not plastic—to suppress weeds while allowing water through. Overlap seams by 6 inches.
5. Edge Your Space
Install metal, plastic, or stone edging to keep gravel contained. This is where most DIYers cut corners—and regret it.
6. Spread and Rake the Gravel
Pour your chosen gravel (3/8” to 3/4” angular works best) and rake evenly. Lightly mist with water to settle it.
Top Best Practices for Long-Lasting Gravel Areas
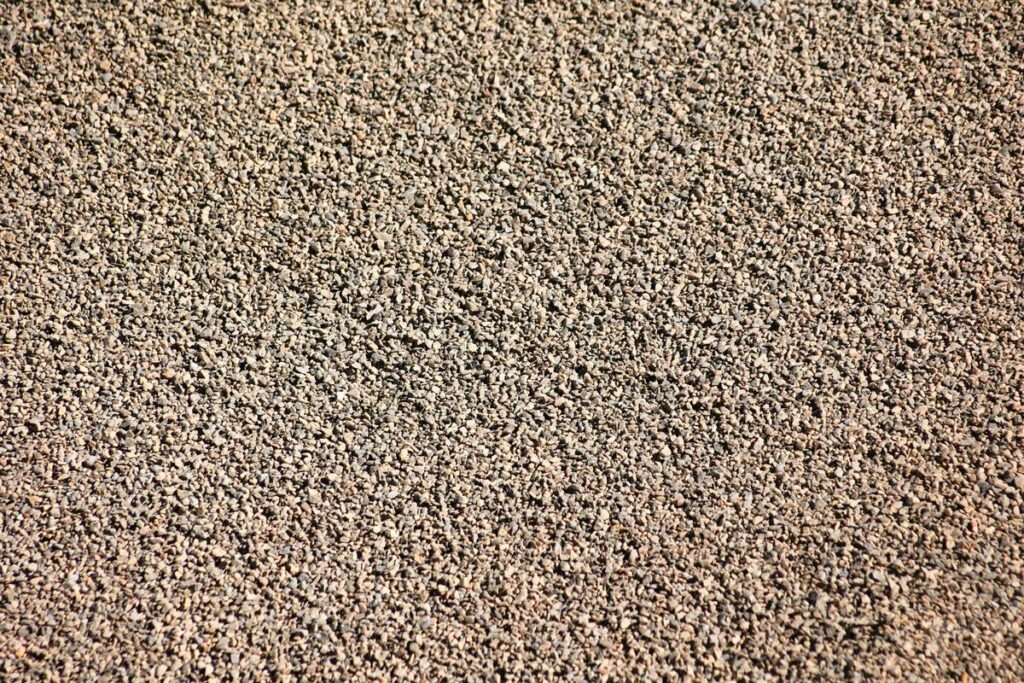
- Pick angular gravel: Rounded stones (like pea gravel) shift underfoot. Angular chips lock together for stability.
- Avoid fabric under high-traffic zones: In pathways, fabric can bunch and tear. A solid base often suffices if weeds aren’t rampant.
- Replenish annually: Gravel migrates. Keep a spare bag for top-ups each spring.
- Never mix gravel with organic mulch: This “hack” sounds smart but traps moisture, breeds mold, and looks messy within months. (Yes, I tried it. No, it didn’t work.)
- Consider color contrast: Light gravel near dark house siding creates dramatic definition—just ensure it complements your home’s palette.
Real-World Examples That Work
A study by the University of Florida IFAS Extension found that properly installed gravel paths reduced erosion by 70% compared to bare soil in residential yardsUF/IFAS. Locally, one Seminole homeowner replaced her front lawn with a gravel-and-native-plants design, cutting irrigation costs by $45/month. At our own projects through Seminole Coconut Creek, we’ve seen gravel patios last 8+ years with only minor raking—proof that thoughtful installation pays off. Remember: longevity starts with preparation, not the gravel itself.
Frequently Asked Questions
Is using gravel in landscaping eco-friendly?
Yes—when sourced responsibly. Gravel is permeable, reduces runoff, and requires no watering. Just avoid dyed or synthetic-coated varieties.
How deep should gravel be for a walkway?
Aim for 2–3 inches of gravel over a compacted 2–3 inch base layer. Less than that invites shifting and puddling.
Will weeds grow through gravel?
They can—if you skip the base prep. Proper compaction + optional fabric + regular maintenance keeps them at bay.
Can I use gravel around trees?
Absolutely! But leave a 6-inch gap around the trunk to prevent moisture buildup and bark rot.
What’s the biggest mistake people make with garden gravel?
Skip edging. Without borders, gravel scatters onto lawns, driveways, and gutters—turning a tidy feature into a cleanup nightmare.
How do I clean gravel?
Rake out debris seasonally. For stains, use a mild vinegar-water spray (avoid bleach—it harms soil).
If you’re ready to transform your outdoor space with smart, sustainable gravel design, we’d love to help. Reach out via our Contact Us page for a free consultation. And rest assured—we follow strict data privacy standards, as outlined in our Privacy Policy.